

Sign-in methods
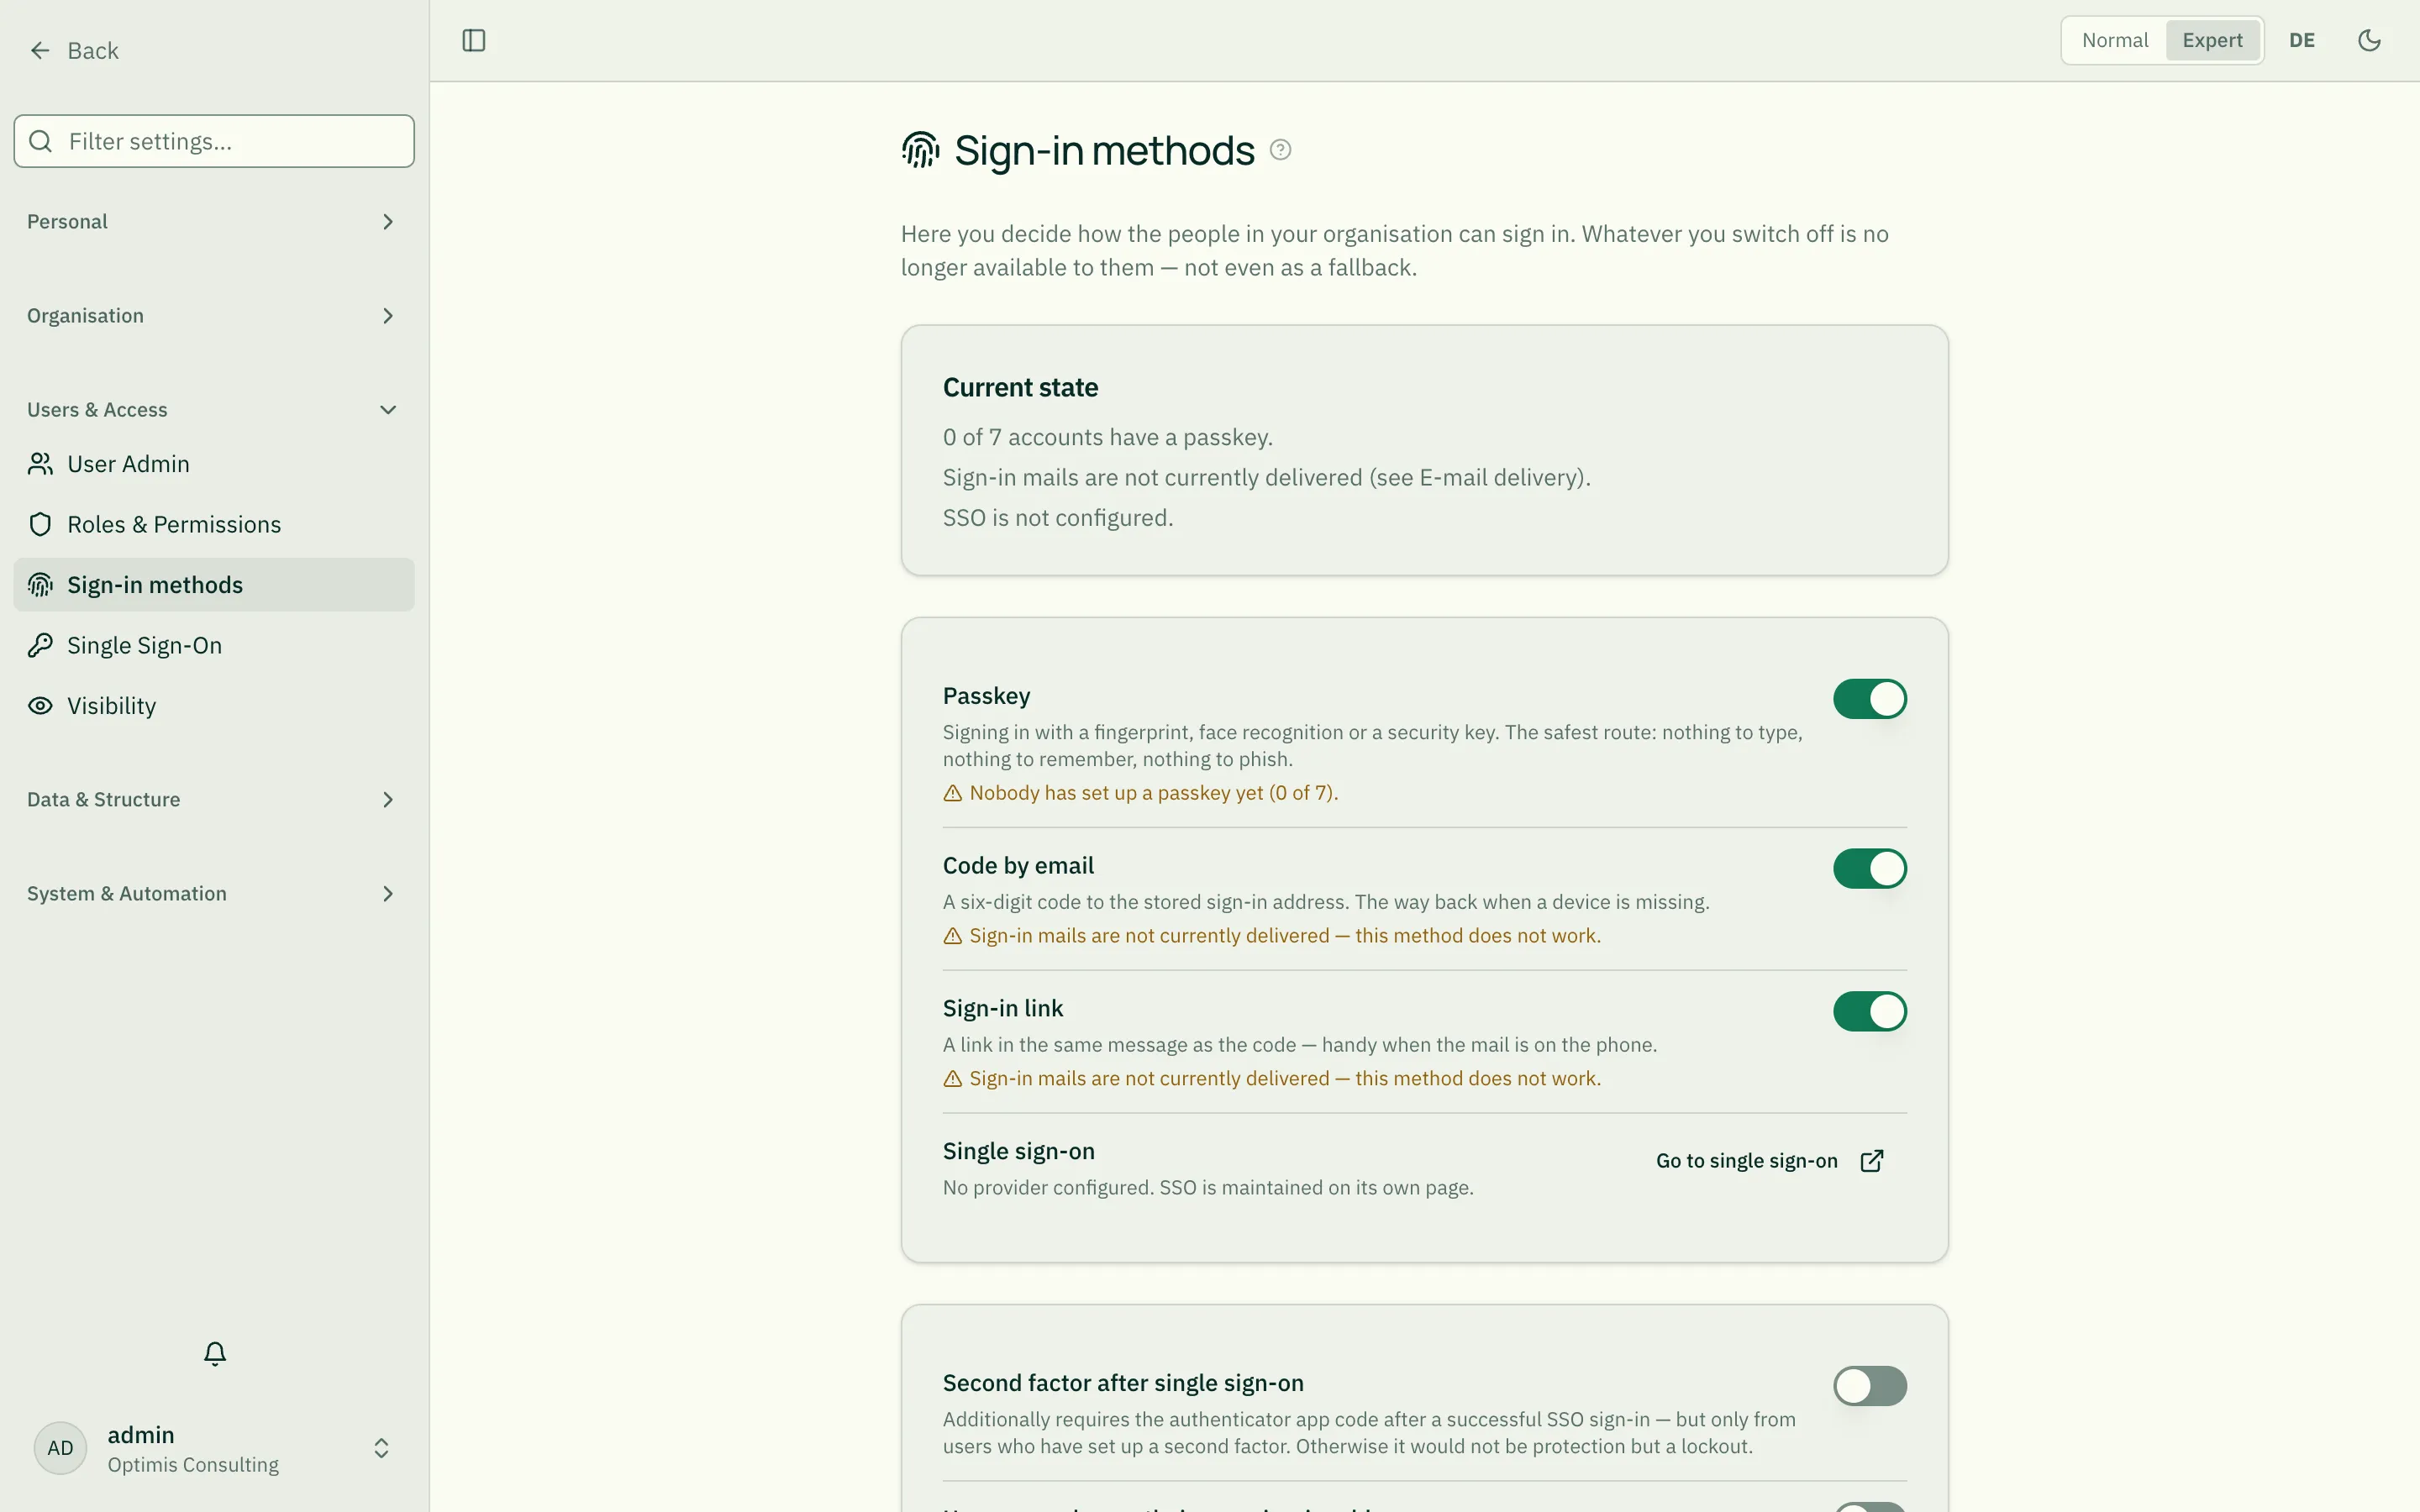
Under Settings → Users & access → Sign-in methods you decide how the people in your organisation can sign in. Whatever you switch off is no longer available to them — not even as a fallback.
The three methods
Section titled “The three methods”| Method | What it means |
|---|---|
| Passkey | Signing in with a fingerprint, face recognition or a security key. The safest route: nothing to type, nothing to remember, nothing that could be phished. |
| Code by email | A six-digit code to the stored sign-in address. The way back when a device is missing. |
| Sign-in link | A link in the same message as the code — handy when the mail is on the phone and you are at the computer. |
Tenant accounts no longer have a password since October 2026, so there is no switch for it either. Only the platform’s own administrators still sign in with a password and an authenticator app — in the separate Platform Admin.
Single sign-on sits beside this list, not inside it
Section titled “Single sign-on sits beside this list, not inside it”SSO is not one of the methods in this catalogue. It is configured on its own page and cannot be switched off here: a tenant with active SSO can always get in.
It still appears in the list, because when you switch off a method you need to see the whole picture, not just part of it. If SSO is live, you may switch off code, sign-in link and passkey even when no email delivery is set up and nobody has a passkey yet.
The current state — why it sits above the switches
Section titled “The current state — why it sits above the switches”At the top you see three facts:
- how many accounts have a passkey (“3 of 47”),
- whether sign-in mails of this tenant can be delivered (see E-mail delivery),
- whether SSO is live.
The whole decision hangs on these. “Allowed” is not the same as “works”: an enabled email code without a delivery route sends no mail, and allowed passkeys are useless when nobody has one.
You cannot lock yourself out
Section titled “You cannot lock yourself out”If a setting would leave nobody able to sign in, the application refuses it — on the server, not just in the form. A direct call to the API gets past it no more easily.
What counts as a working route:
- SSO — if at least one provider is live,
- Code or sign-in link — only if sign-in mails for this tenant are actually delivered (“Sign-in mails” under E-mail delivery),
- Passkey — only if passkeys actually exist.
Only the state after your change is checked. So if you are already in a dead end — because your mail delivery failed, say — you can still leave it with a change.
The recommended route to passkeys
Section titled “The recommended route to passkeys”- Have email delivery set up, if that has not happened yet — without it nobody gets in by code, and without SSO the code is the only route at first.
- Leave code by email and passkey switched on.
- Ask your people to set up a passkey in their profile. Watch the number in the current-state box.
- Keep the email code on afterwards as well: it is the way back for anyone who does not have their device to hand or has no passkey yet.
Second factor after single sign-on
Section titled “Second factor after single sign-on”Additionally requires the authenticator app code after a successful SSO sign-in — but only from users who have set up a second factor. Otherwise it would not be protection but a lockout: the user would get in via SSO with nothing to show, and could only set it up while signed in.
To enforce it for everyone you need a rollout: first everyone sets up the authenticator app while it is still optional, then you switch.
Users changing their own sign-in address
Section titled “Users changing their own sign-in address”Off by default. In most organisations the sign-in address is master data, and anyone who can redirect their own sign-in anchor to a private address has created a takeover route. Switched on, users may change it in their profile — confirmed by a code to the new address, with a notice to the old one.
Independently of this, administrators can set the address at any time in the user directory.
Verified email domains
Section titled “Verified email domains”Enter your organisation’s domains here (customer.com). Users with an address on those
domains then find their SSO button on the general sign-in page — they do not have to come
via your own address.
How the proof works:
- Enter the domain. You are shown a TXT record.
- Create that record in your domain’s DNS (
_rolealpha-verify.customer.com). - Choose Check now. New DNS records often take a few minutes.
Freemail domains (gmail.com, gmx.at …) are excluded. Otherwise every user of that
domain would see your logo and your SSO button.
A domain belongs to exactly one tenant. If it is already taken, we do not tell you by whom — that would be a directory of our customers.
The proof is not re-checked continuously. If you give up a domain, please remove it here.
What is deliberately given away
Section titled “What is deliberately given away”Once a domain is verified, the sign-in page tells anyone who types an address on that domain that your organisation uses roleALPHA. It still says nothing about the individual person: the same answer comes back for every address on that domain, whether the account exists or not.
The trade-off is deliberate and industry-standard — without it an SSO user cannot find their way on the neutral page. If you would rather not make it, simply enter no domain; your people then keep reaching the SSO button via your own address.