

Automator
The Automator is your workbench for workflow automation. You define rules in the shape of “when something happens, do something”: as soon as an entity is created, updated or deleted, the Automator can automatically create more entities or build relationships — no manual work required.
Open it from the sidebar under Settings → System & Automation → Automator (/automator). The
page is only visible to tenant admins and platform admins.
Rules always belong to exactly one tenant. As a tenant admin you only see and manage the rules of your own tenant — even when you open a foreign rule address directly. Only platform admins work across tenants.
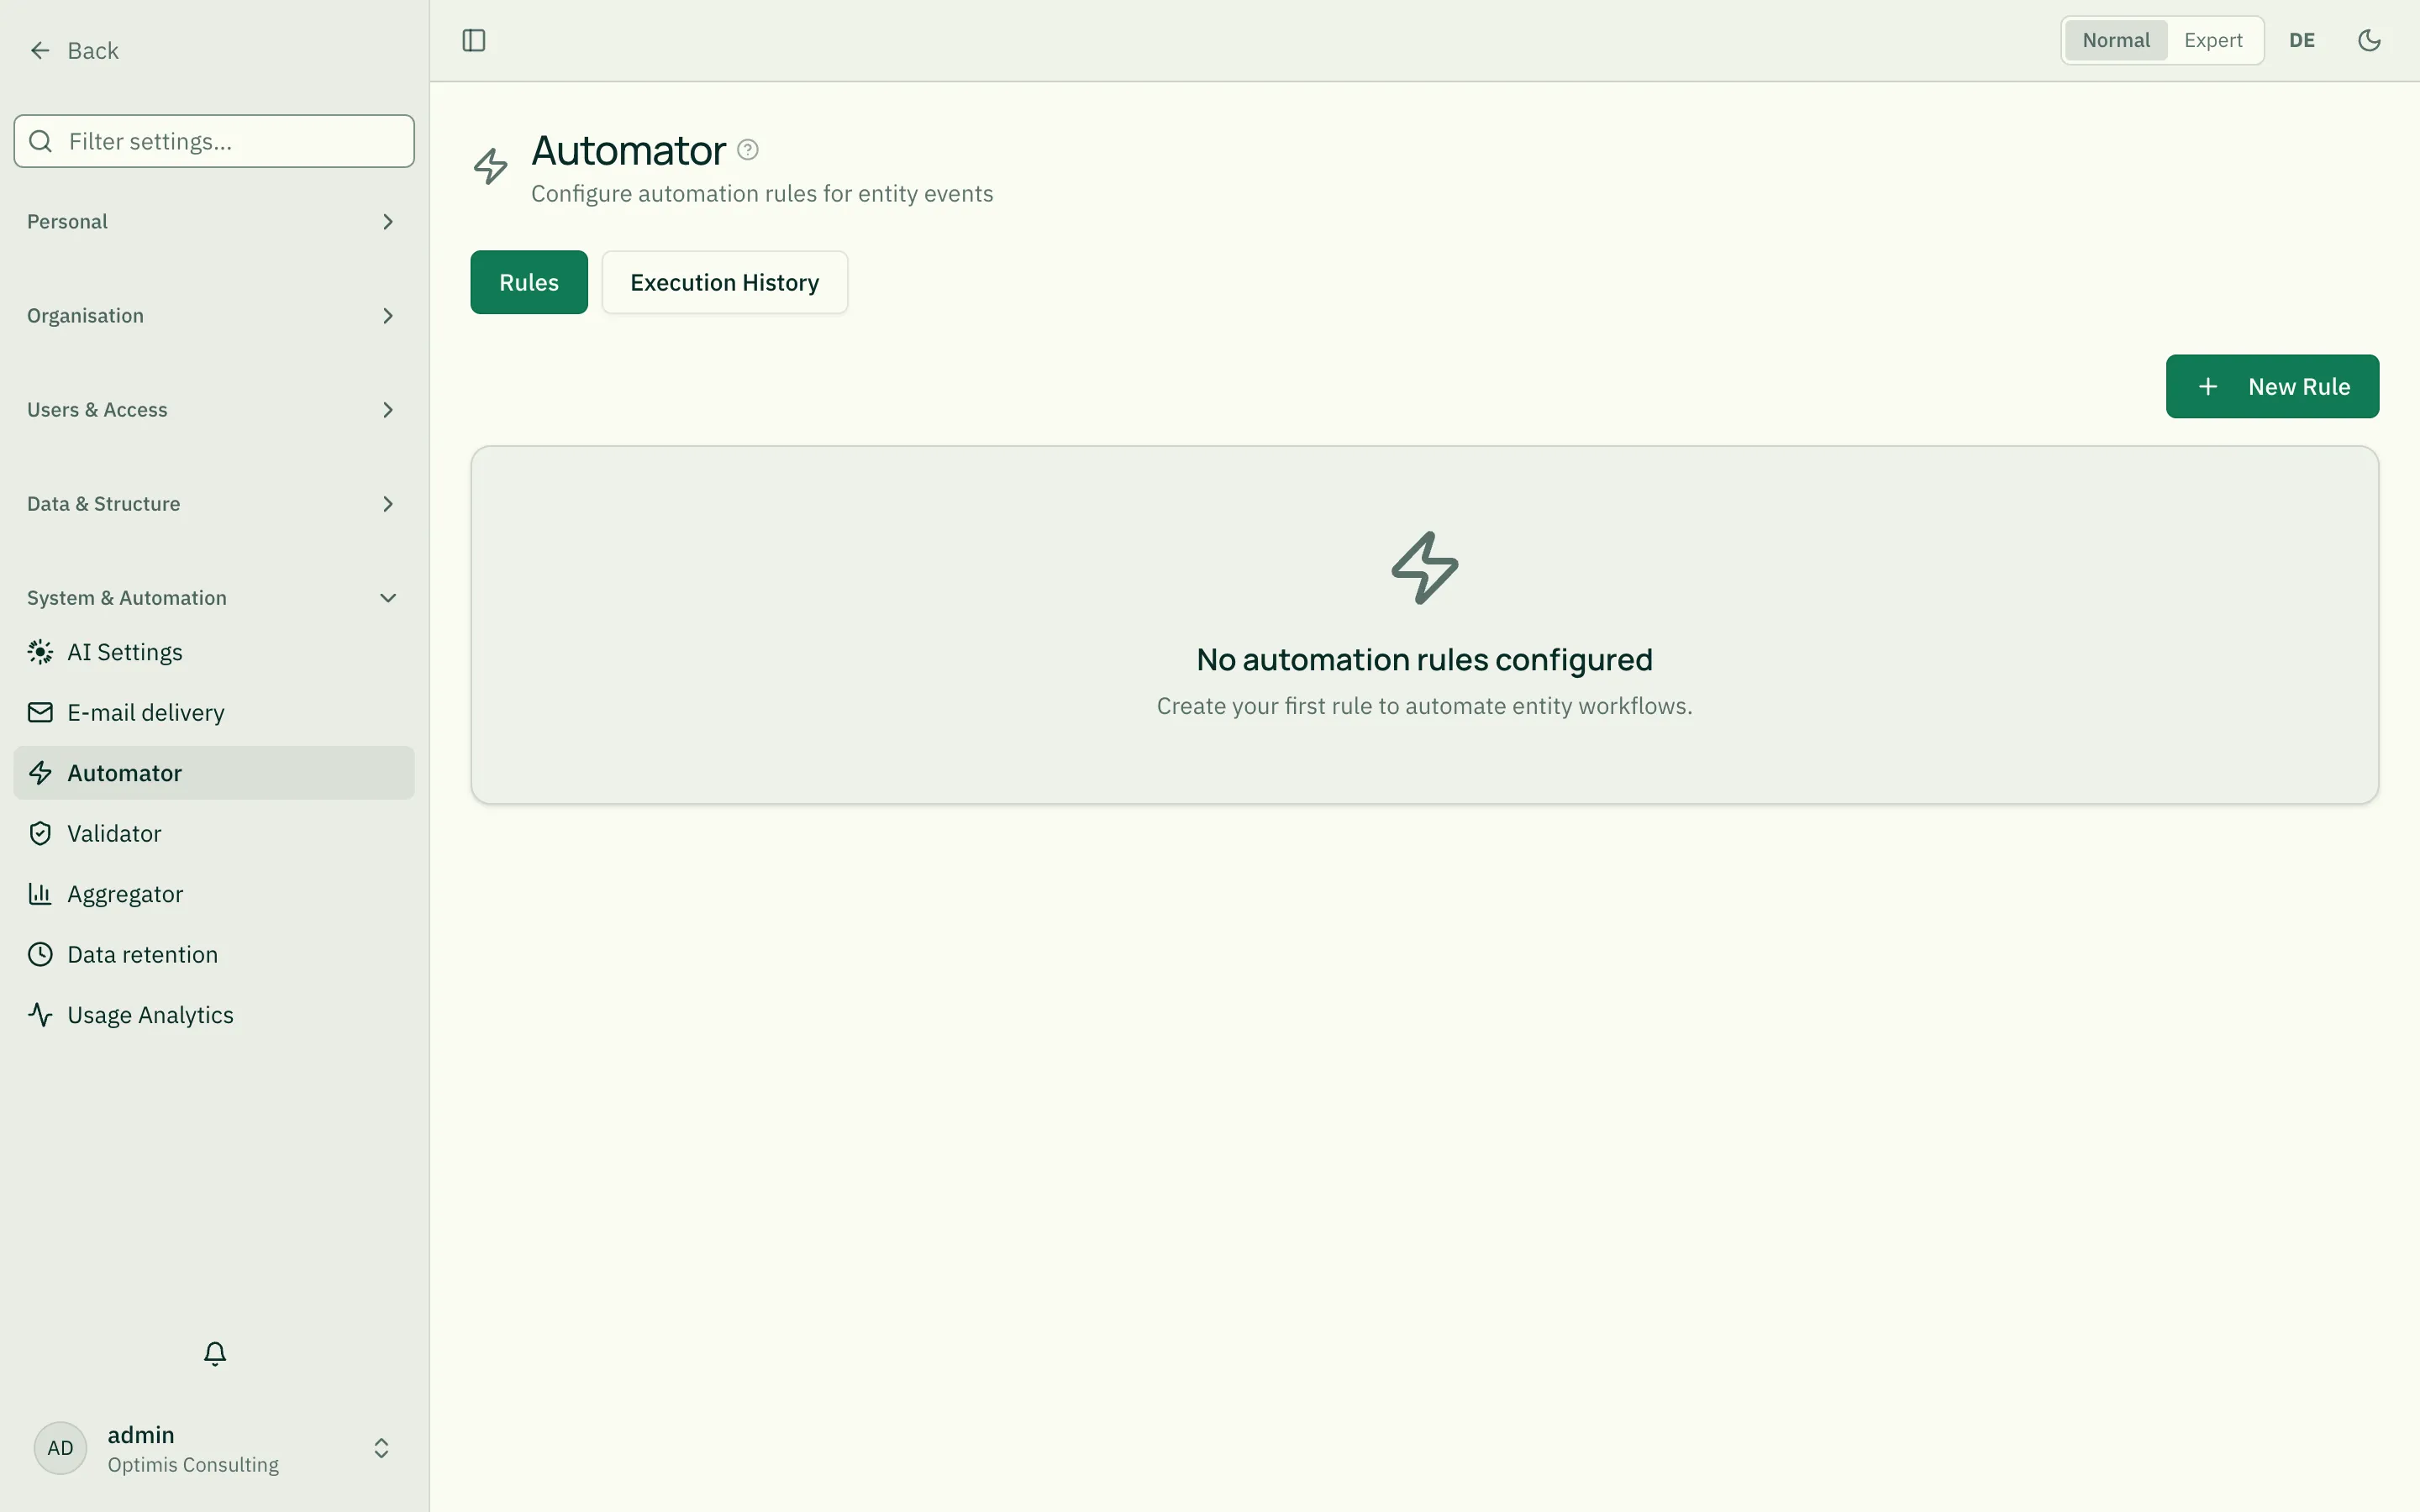
The two tabs
Section titled “The two tabs”- Rules — create, edit and (de)activate automation rules here.
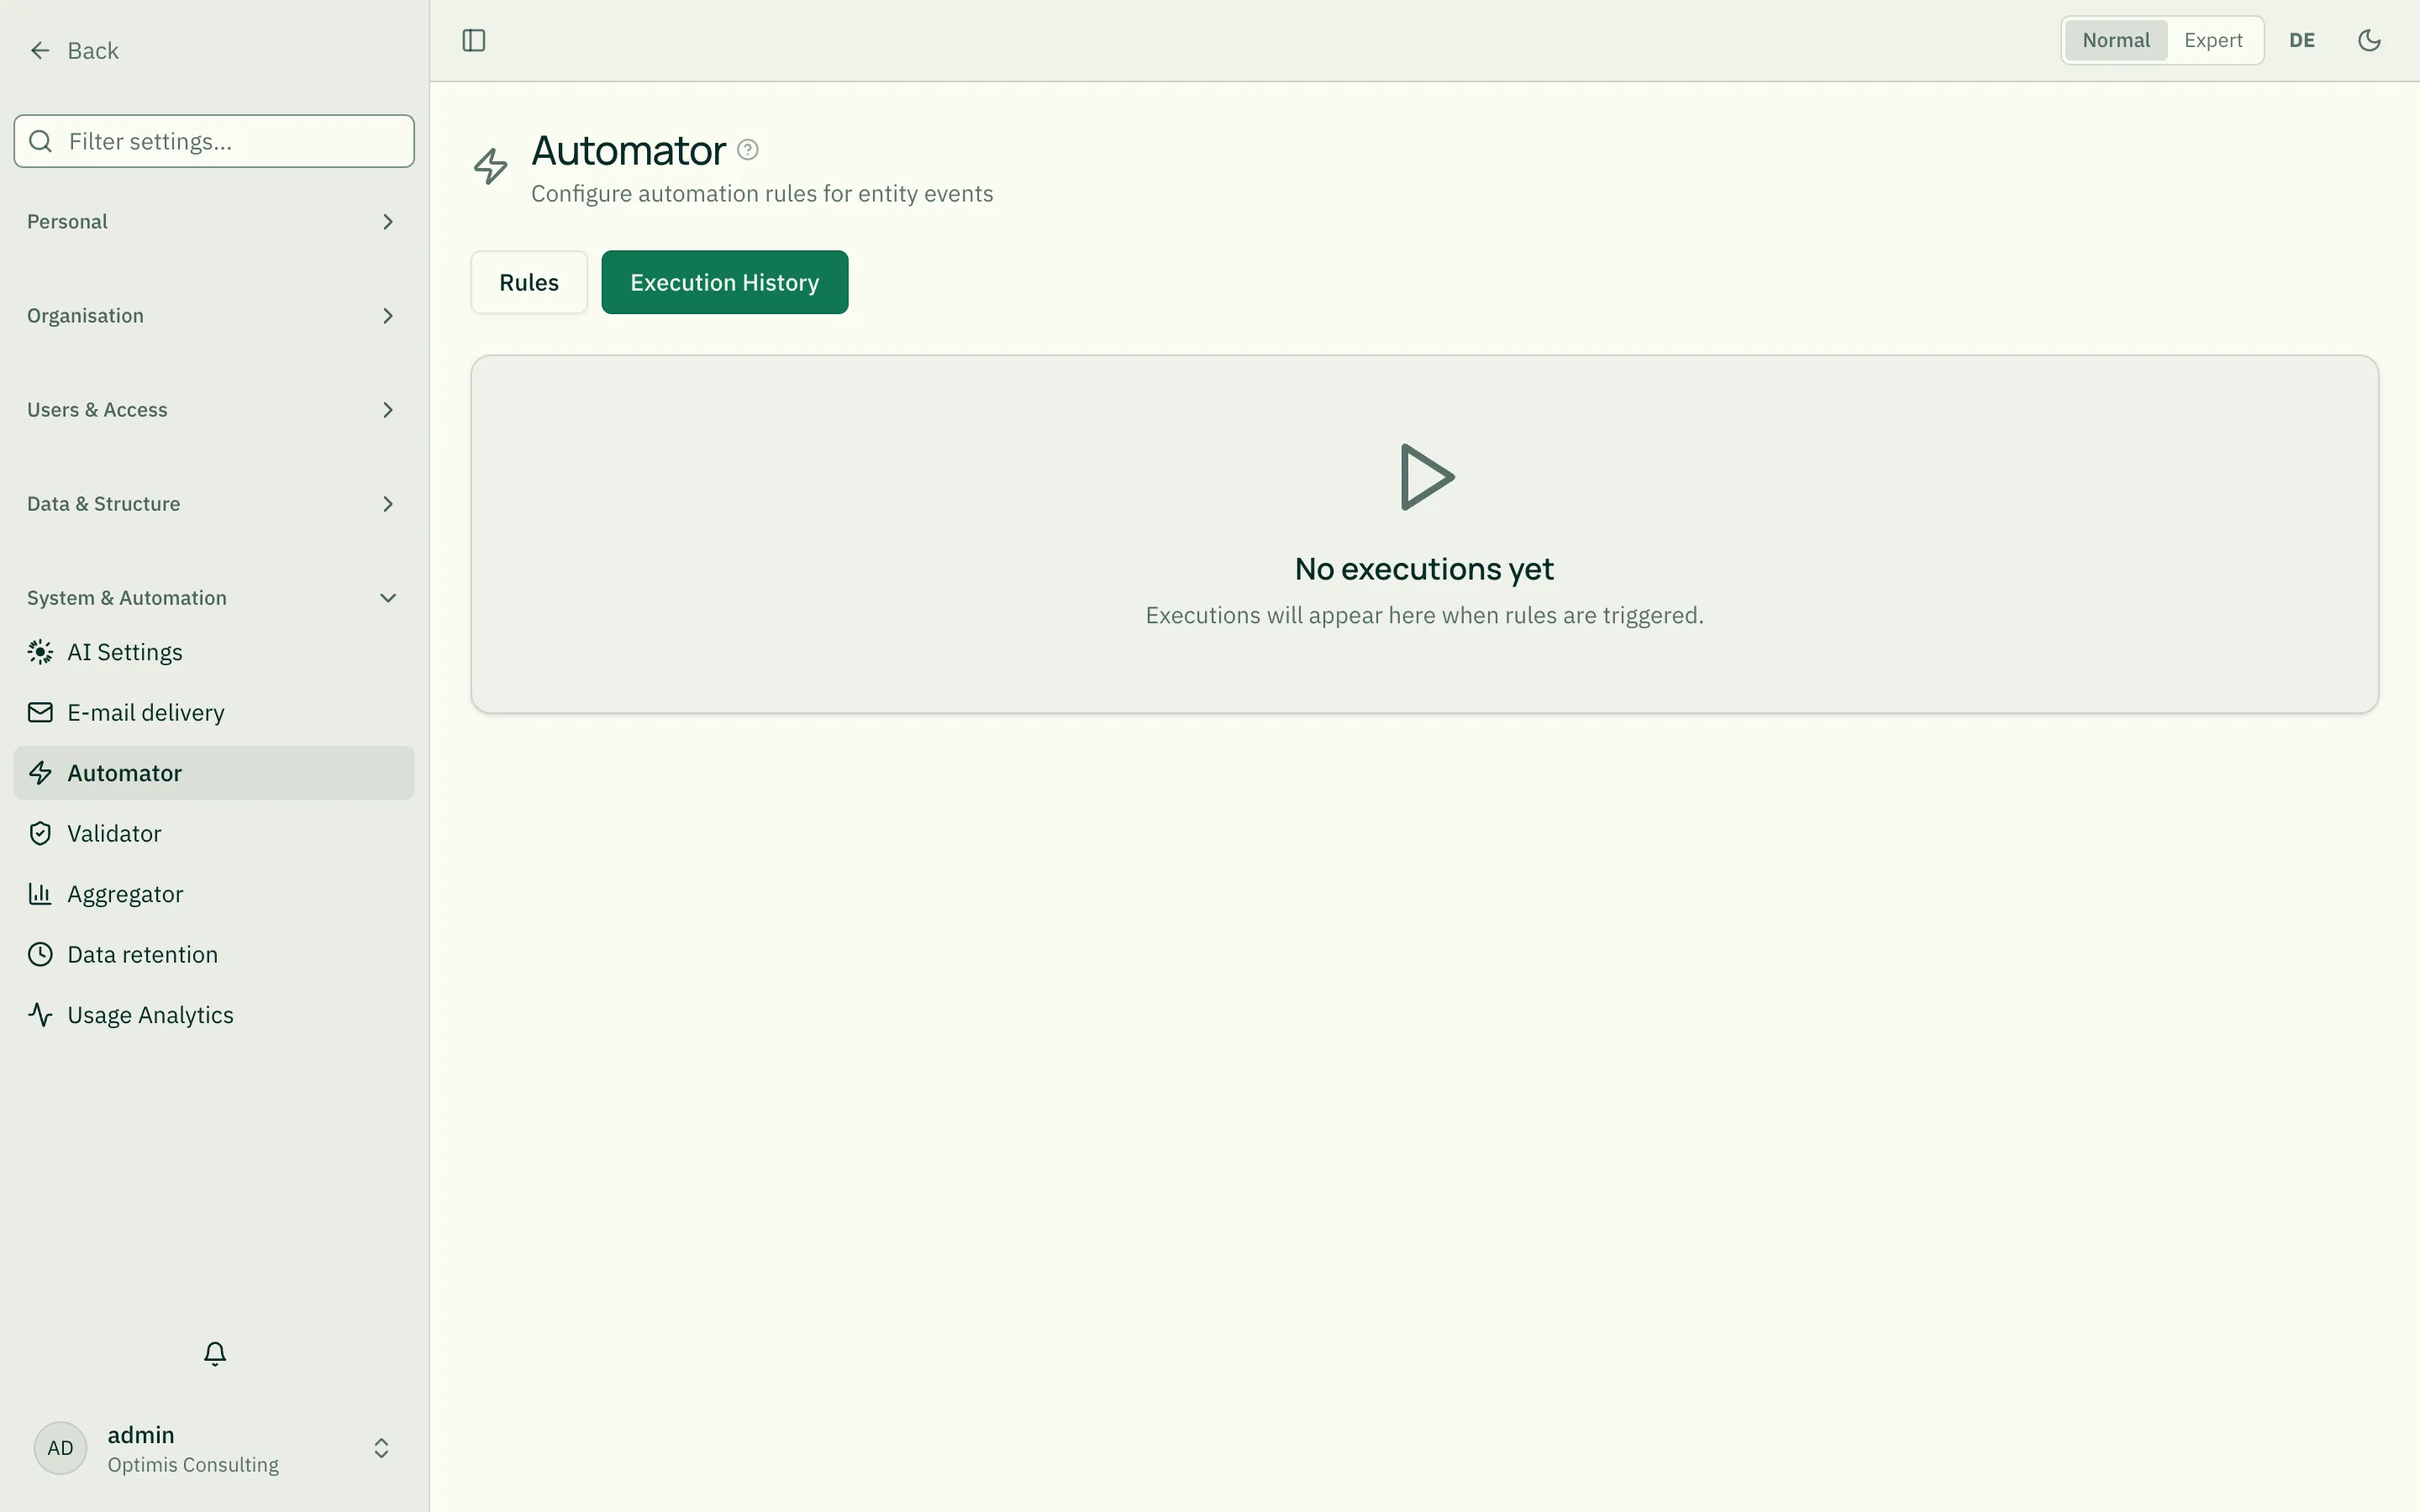
- Executions — a log: every triggered rule shows up here with its status, depth and the actions actually performed.
Building a rule
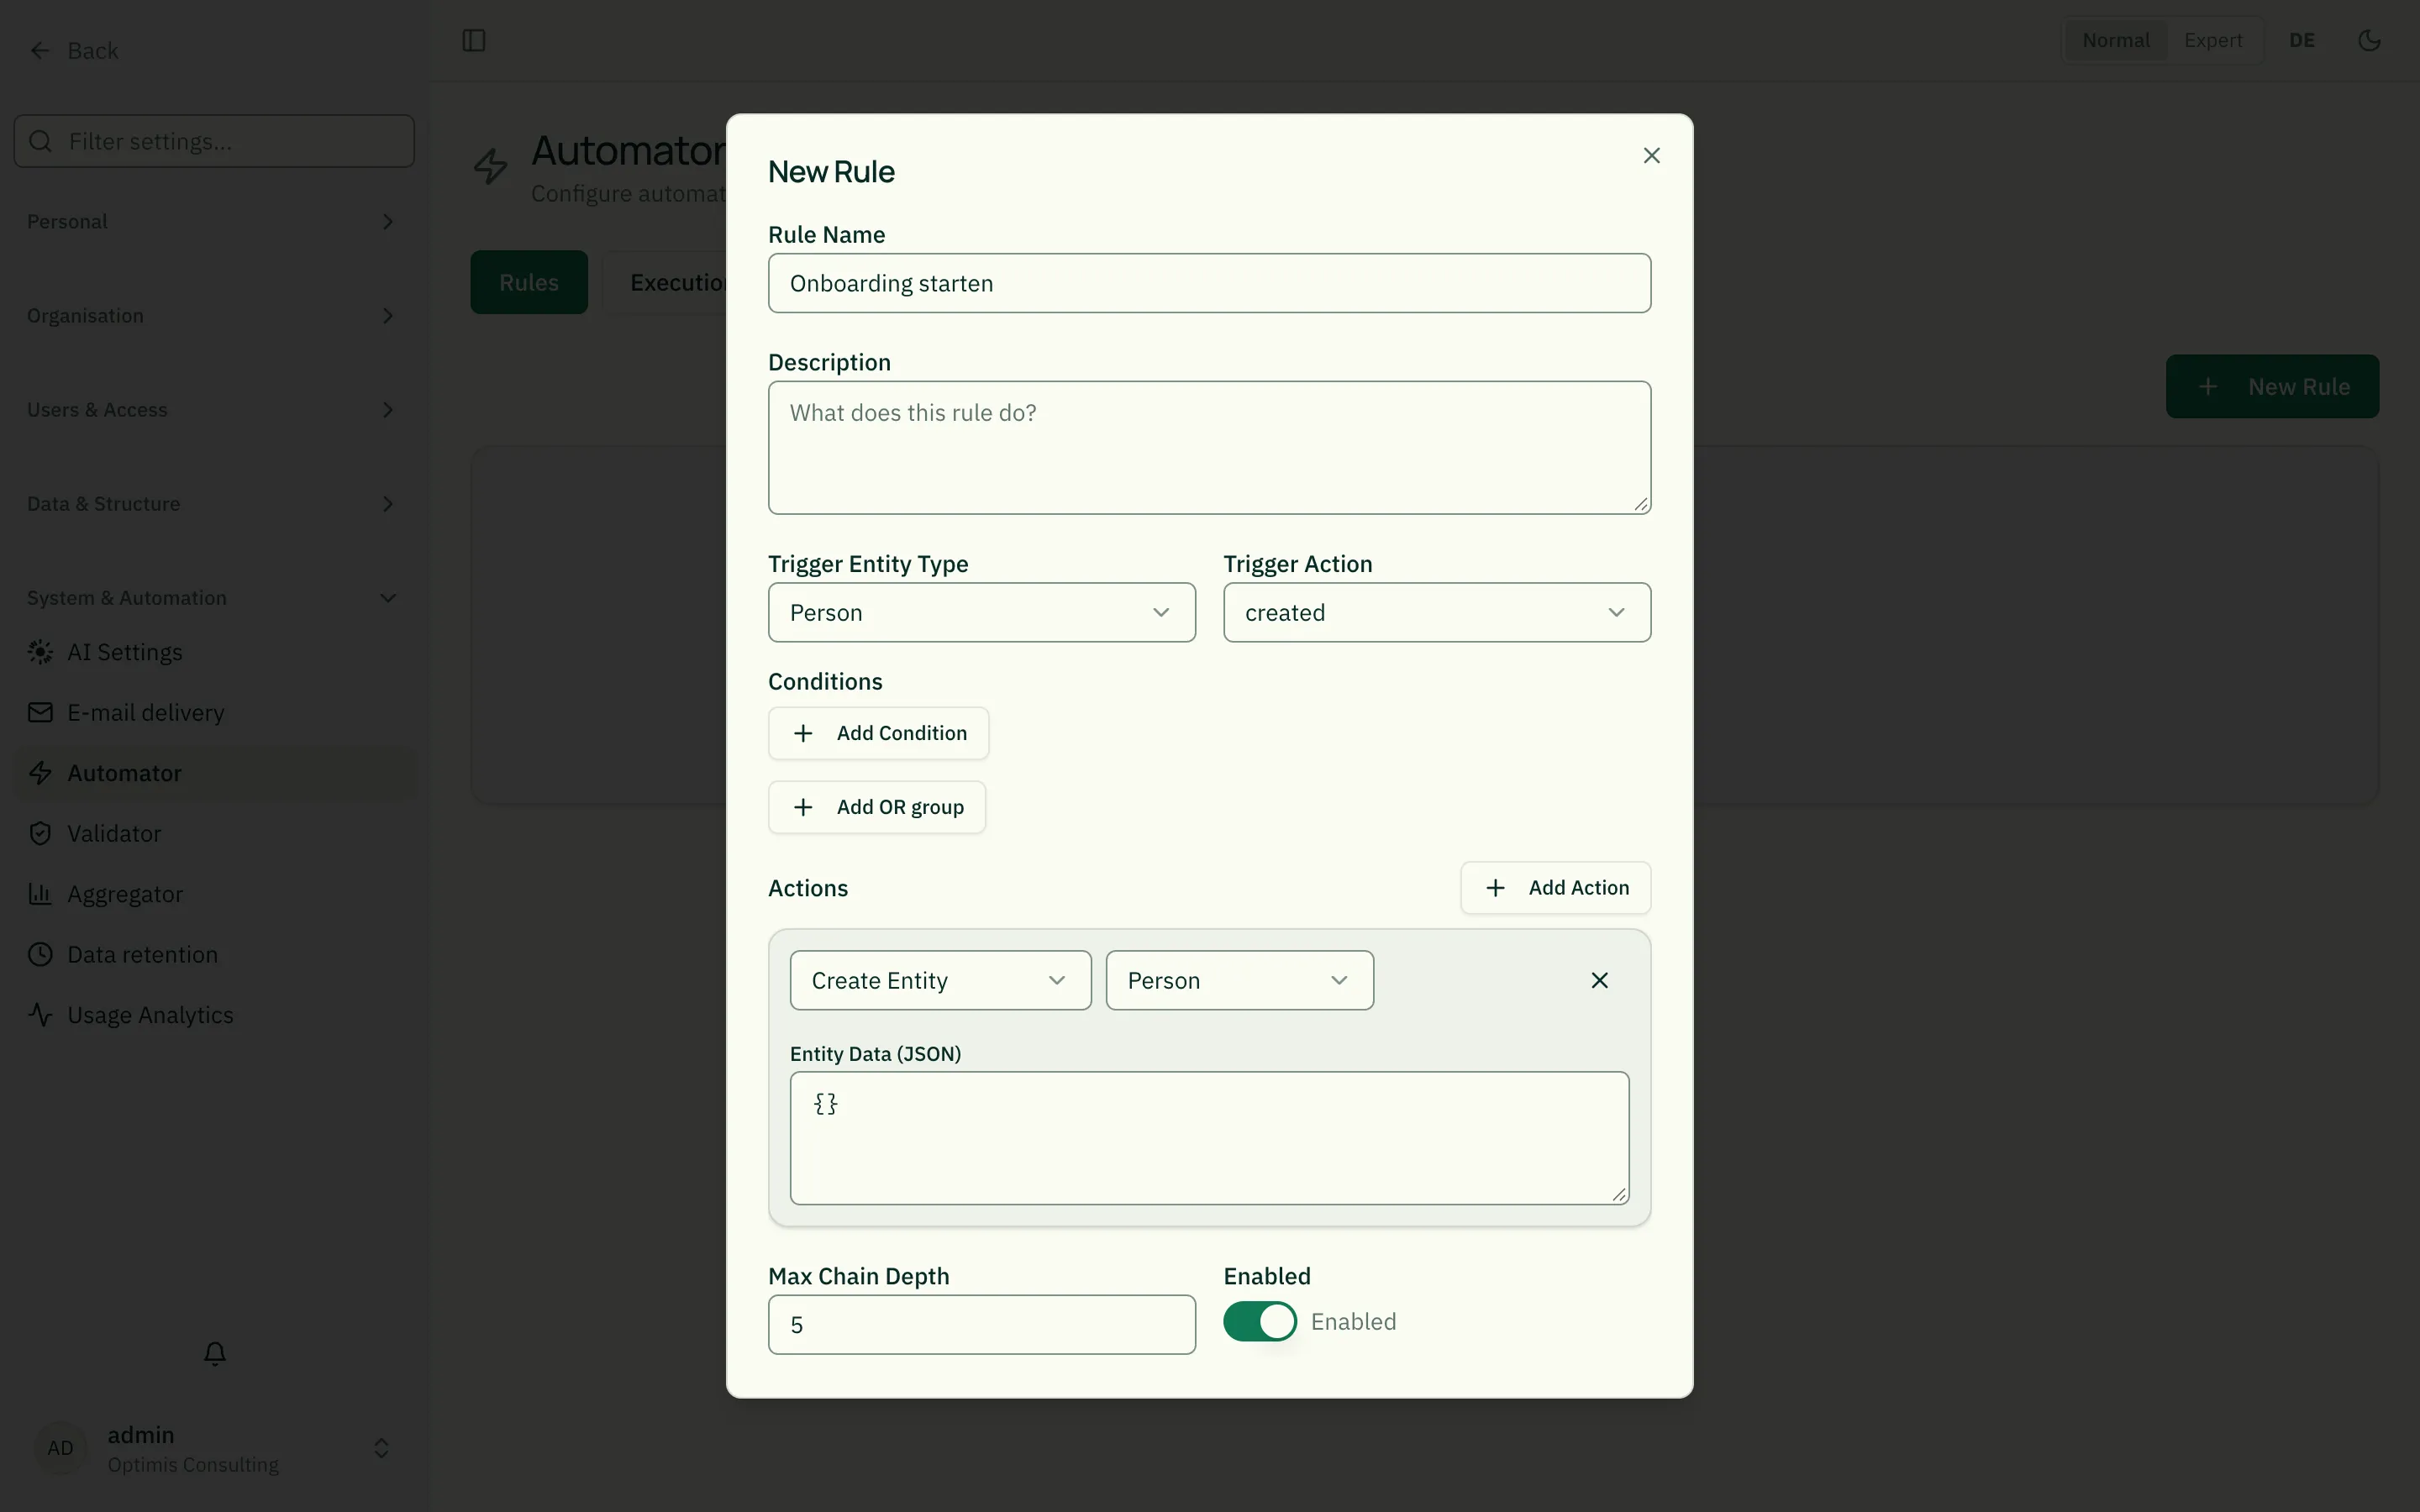
Section titled “Building a rule”New Rule opens the editor. A rule has four building blocks: trigger, conditions, actions and a few safety settings.
1. Trigger
Section titled “1. Trigger”- Trigger entity type: which entity type emits the event (e.g. Person, Role, Value stream). Only types whose fachservice is running are offered.
- Trigger action: which event starts the rule:
created— an entity was newly createdupdated— an entity was changeddeleted— an entity was removed
2. Conditions (optional)
Section titled “2. Conditions (optional)”Conditions narrow down which entities the rule applies to. Without a condition the rule fires on every matching event. With conditions the Automator inspects the triggering entity’s data.
Each condition has a field, an operator and a value:
- Field:
Nameor a field from the type’s [[entity-type-schema|JSON schema]] (e.g.descJsonb.department). - Operator — what the conditions mean exactly:
| Operator | Meaning | Example (value “Eng”) |
|---|---|---|
equals | exactly equal | matches “Eng”, not “Engineering” |
notEquals | not equal | matches everything except “Eng” |
contains | contains | matches “Engineering”, “Top-Eng” |
startsWith | starts with | matches “Engineering” |
endsWith | ends with | matches “Backend-Eng” |
- Value: the comparison value.
Important: Multiple conditions within a group are AND-combined — all must match. The comparison is case-insensitive (“Eng” = “eng”). On
deletedevents conditions are skipped, because the entity data is no longer available.
Multiple condition groups (OR grouping)
Section titled “Multiple condition groups (OR grouping)”“Add OR group” creates a second condition group: the rule fires if the triggering entity fully satisfies either group (conditions within a group stay AND-combined, as above). With just one group the editor looks exactly as before — grouping is purely optional and only becomes visible once you add a second group.
Example: “department is Engineering or Sales” → group 1:
descJsonb.department equals Engineering; group 2: descJsonb.department equals Sales.
Advanced Mode: conditions as JSON
Section titled “Advanced Mode: conditions as JSON”The form above covers AND-combined conditions with the 5 operators
equals/notEquals/contains/startsWith/endsWith — enough for most
rules. Working in Expert mode (the toggle in the top-right header, or the
M shortcut) reveals an additional “Edit as JSON” button next
to conditions. It opens an editor for the raw condition tree with two
extra capabilities:
- OR/NOT grouping instead of AND-only:
{ "or": [ {...}, {...} ] },{ "not": {...} }, nested as deep as needed. - More operators: besides the 5 from the form, also
gt/gte/lt/lte(numeric comparison),exists/notExists(field present/blank) andin/notIn(membership in a value list).
Example — “department is Engineering or Sales, and FTE is above 0.5”:
{ "and": [ { "or": [ { "field": "descJsonb.department", "operator": "eq", "value": "Engineering" }, { "field": "descJsonb.department", "operator": "eq", "value": "Sales" } ]}, { "field": "descJsonb.fte", "operator": "gt", "value": 0.5 } ]}The editor validates live and flags invalid JSON or unknown operators right below the field — Save stays disabled until the tree is valid. The “Back to form view” button only enables when the current tree can be represented losslessly as a flat AND list; if it contains OR/nesting it stays disabled (with an explanatory tooltip) — so switching back never silently drops anything. A rule already created with such a tree via the assistant or MCP opens automatically in JSON mode when edited, regardless of your own view mode.
3. Actions
Section titled “3. Actions”Actions are the then of the rule. You can add as many as you like; they run in order. Two action types are available:
- Create entity (
create_entity): creates a new entity in the target type. You supply the target entity type and the data as JSON, e.g.{ "name": "New onboarding" }.Required fields apply here too: if the data omits a required field of the target type (see JSON Schema for Entity Types), the draft stays put and the run is logged as partially failed. The execution history names the reason — look there when a rule “ran” but nothing appeared.
- Create relationship (
create_relationship): links the triggering entity with a (just created) entity. You supply:- Relationship type: the code of the relationship type,
e.g.
EXECUTES. - Direction:
- Trigger → Created (
trigger_to_created): the relationship points from the triggering to the newly created entity. - Created → Trigger (
created_to_trigger): the other way round.
- Trigger → Created (
- Relationship type: the code of the relationship type,
e.g.
A
create_relationshipaction links to the entity from the previouscreate_entityaction in the same rule. So typically combine the two as a pair.
How the entity comes into being — and who approves it A
create_entityaction creates the entity the same way you would: it files a draft and approves it automatically. The entity type’s approval mode does not apply — the automation acts as the system and publishes right away. If a creation is meant to pass through approval, it does not belong in a rule; keep it a manual draft. The relationship type increate_relationshipis resolved by its name and must exist in this tenant — otherwise the execution reportspartial_failurewith “Unknown relationship type”.
4. Safety & status
Section titled “4. Safety & status”- Max depth (1–10): limits automation chains. When an action emits an event that triggers another rule, the Automator increments the depth. Once the limit is reached the chain stops, preventing infinite loops. Platform-wide the hard stop is always 10, even if you enter more.
- Enabled: only enabled rules fire. The toggle in the list lets you pause a rule any time without deleting it.
Example: kick off onboarding automatically
Section titled “Example: kick off onboarding automatically”“When a person in the Engineering department is created, automatically link them via
EXECUTESto the default role.”
- Trigger entity type: Person
- Trigger action:
created - Condition:
descJsonb.departmentequalsEngineering - Action: Create relationship → relationship type
EXECUTES, direction Trigger → Created - Max depth:
3
Reading executions
Section titled “Reading executions”The Executions tab shows every triggered rule. Expanding reveals details:
- Status:
completed(all good),partial_failure(some actions failed),failed,running,pending. - Depth: position in the automation chain (0 = triggered directly).
- Chain ID: groups all executions of one chain — handy to trace what an initial action set off.
- Actions executed: per action the type, target type and the result (or error message).
Maintenance tips
Section titled “Maintenance tips”- Narrow it with conditions first: a rule without conditions fires on every event of the type — easily too much.
- Pick a low depth:
maxDepth2–3 is enough for most cases. Use higher values only when chains are intended. - Test after creating: create a matching test entity and check the Executions tab to confirm the rule fires as expected.
- Pause instead of delete: use the enabled toggle to temporarily disable a rule.
Create it via the assistant (rAlph)
Section titled “Create it via the assistant (rAlph)”Instead of filling in the form, you can describe an automation in plain words:
type /automator in the assistant, then e.g. “Whenever a circle is created,
create the LeadLink role and link it to the circle.” rAlph turns that into a
rule proposal and shows it as a card in the chat — trigger, actions and link.
Only your click on “Create rule” actually creates it (rAlph creates nothing on
its own).
In the field values of created entities you can use placeholders that pull
values from the triggering entity — e.g. the role name LeadLink of {{trigger.name}}
adopts the created circle’s name. The command is available to admins only.
rAlph also understands “or” phrasing (“if the department is Engineering or Sales”) and builds an OR-combined condition tree directly from it — such a rule then opens automatically in JSON mode in the rule editor.
Related
Section titled “Related”- rAlph – Slash commands (/help, /report, /drafts) — the assistant’s slash commands
- Validator — checks data before it is approved (instead of reacting afterwards)
- Aggregator — turns the resulting data into reports
- Relationship Types — the relationship types you use in actions
- JSON Schema for Entity Types — where the field names for conditions come from